Artwork Pieces
Within the SMART Manager (aka: SAM), you can edit, catalog, and store artwork within our system. The Artwork tab is where you can add, edit, delete, and view the pieces that are in the system.
It is important to keep your artwork up to date so that viewers and clients can see the new and exciting pieces you have created.
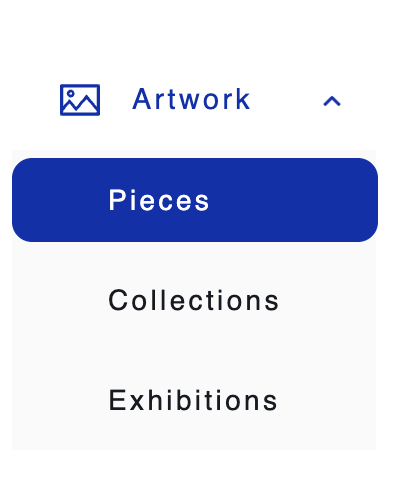
To add new art pieces or manage existing ones, you will want to go to “Pieces,” found in the Artwork tab.
Introduction
A.Create
1.Basic
To add a new piece to the system, click on “Create piece”.
Here, it will ask you to upload a picture of your work and some other information regarding the piece's details. Fill out required fields (*), such as title your piece and specify dimensions (in inches), along with additional dimension specifications if needed.
You can add more images, such as artwork details, different angles of a three dimensional piece, and artwork images in the room under the “Additional Images” uploading area
2.Details
Fill out the required fields (*). A good description will benefit SEO and attract people’s attention on the Internet.
3.Business Type
This will determine how you plan on marketing your piece - whether you want to sell the original, sell prints, sell by commission, or license your art
4.Price
For selling purposes, indicate how much you want to price the work.
Click “Create Piece” when you are done filling out the form.
B.Edit
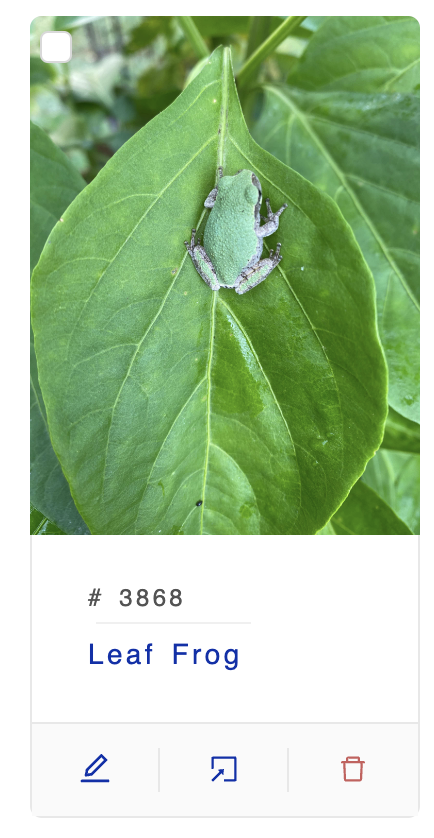
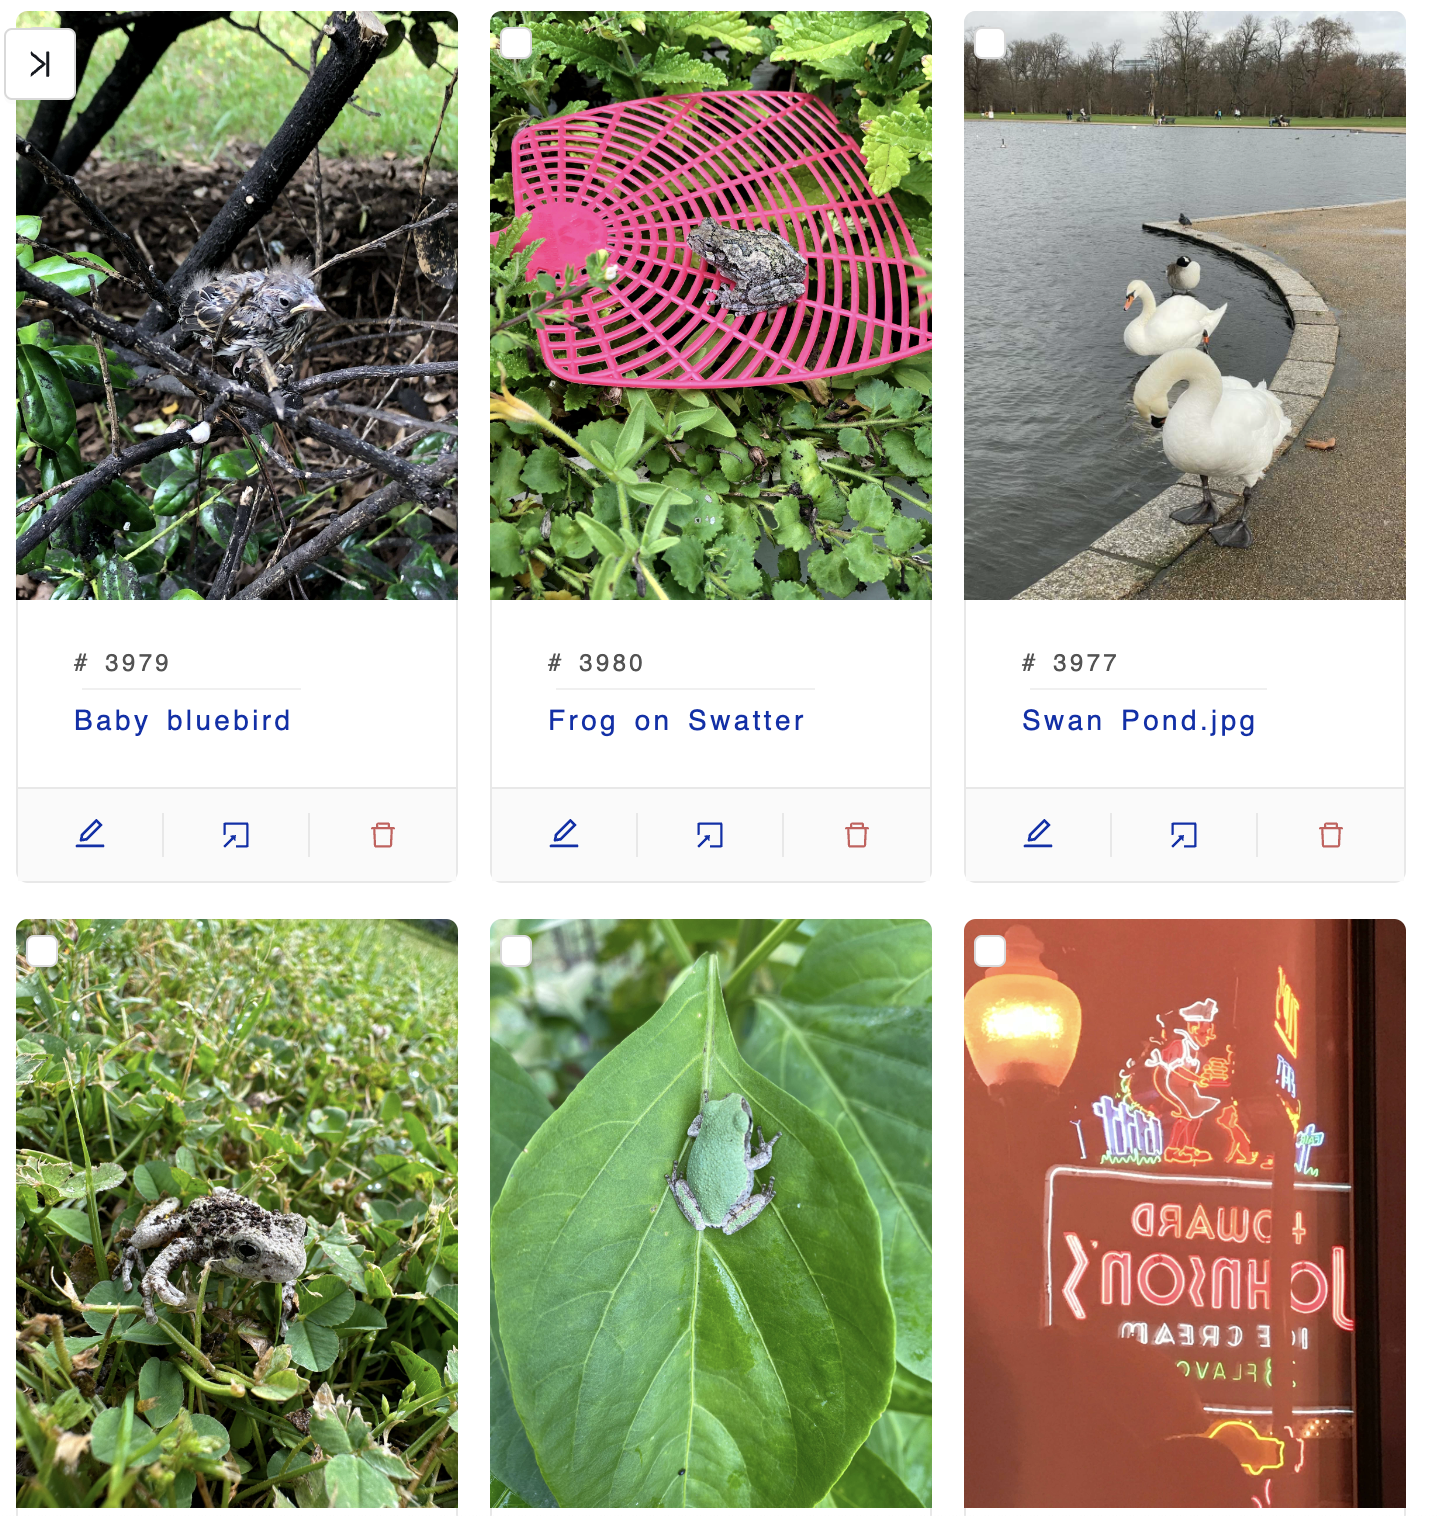
To edit an existing piece, click the blue pen icon beneath the image of your piece. You can make changes to the information that you imputed when you first uploaded the piece as well as provide additional information, like an Artwork Story. We strongly suggest you include an Artwork Story so that viewers can learn more about the meaning behind your work.
C.Delete
To delete a work, click on the red trash bin icon beneath the piece you want to delete and then confirm it in order to permanently delete the piece.
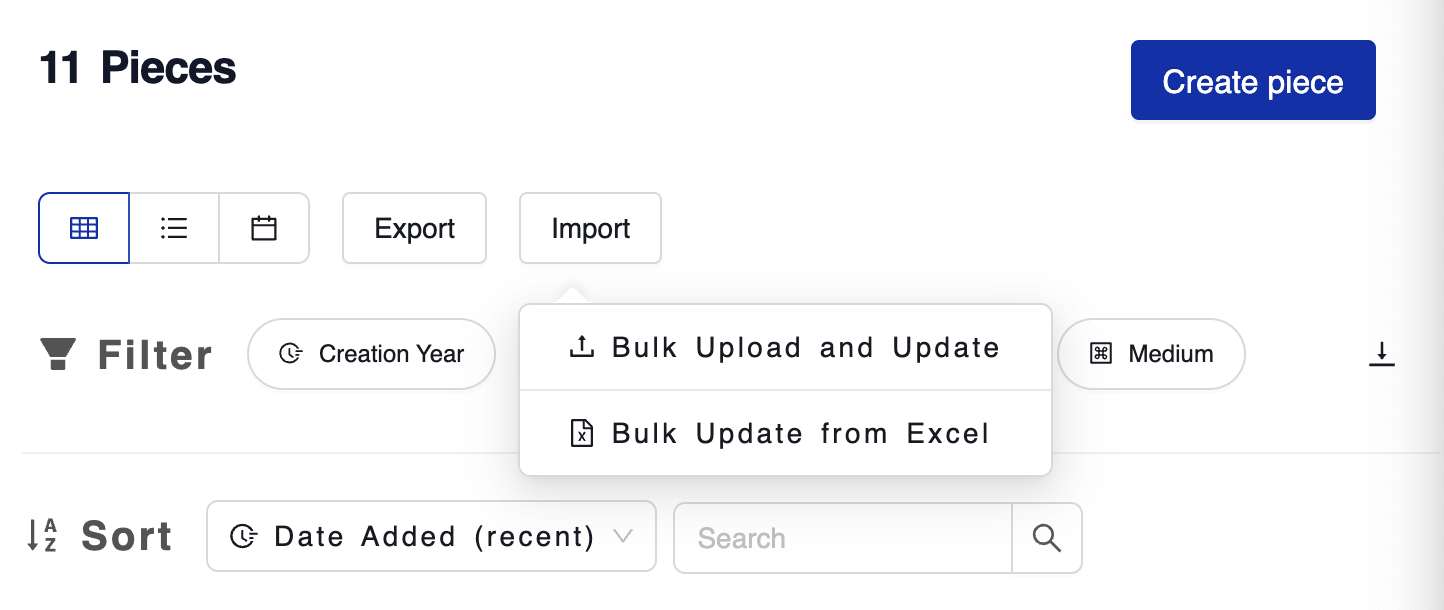
D.Bulk Upload and Update
If you have an entire folder of work to upload or multiple files, you can bulk upload. To do so, click “Import” and then “Bulk Upload and Update”.
Step 1: Bulk Image Upload
Here you can import the pieces you want to enter into the RevArt system, either by uploading individual images or an entire folder of work (a maximum of 20 images). Once you have selected the works you want to upload and opened them in the RevArt SAM system, wait for them to load. Then click “Confirm Upload” and they will be registered in the system under your “Pieces”.
Step 2: Artwork Sheet Upload
This step allows you to update multiple artworks at once. Simply download the Excel sheet template provided and fill out the fields that are located in the sheet.
For SKU#, refer back to your “Pieces” dashboard, where you will find the SKU number of uploaded works beneath their image.)
Once you have filled out the sheet for the desired works you wish to update, save the file to your computer and then upload it into the “Artwork Info Upload Panel” and click the “Update Pieces” button.
Remember to fill out all fields in the Excel, because any left blank will result in no information in that field.
E. Export
You can export your art inventory in Excel or PDF so that you can easily show work to your clients and manage and edit your artwork information.
1.Export to Excel
Click “Export” then “Export to Excel,” then select the fields you want to export information about, then click “Export”. This function will provide you with an Excel sheet with information on your pieces. This sheet can be particularly useful for your own record keeping and if you plan on doing a bulk update because it will provide you with all of the current information about your pieces in a simple and condensed form.
2.Export to Inventory Report
To see what pieces are in the RevArt system’s inventory as a printable catalog, click “Export” then “Export to Inventory Report”. This will bring you to a separate window that will show all of your pieces, along with their information. This is good for your own records to know what pieces were uploaded at a given time. This inventory report is also helpful for showing clients inventory for sale or for showing off a specific portfolio.
F.Filter Artworks
The filter feature is located at the top of the “Pieces” tab and allows you to input specifications to isolate and find pieces within a certain criteria.
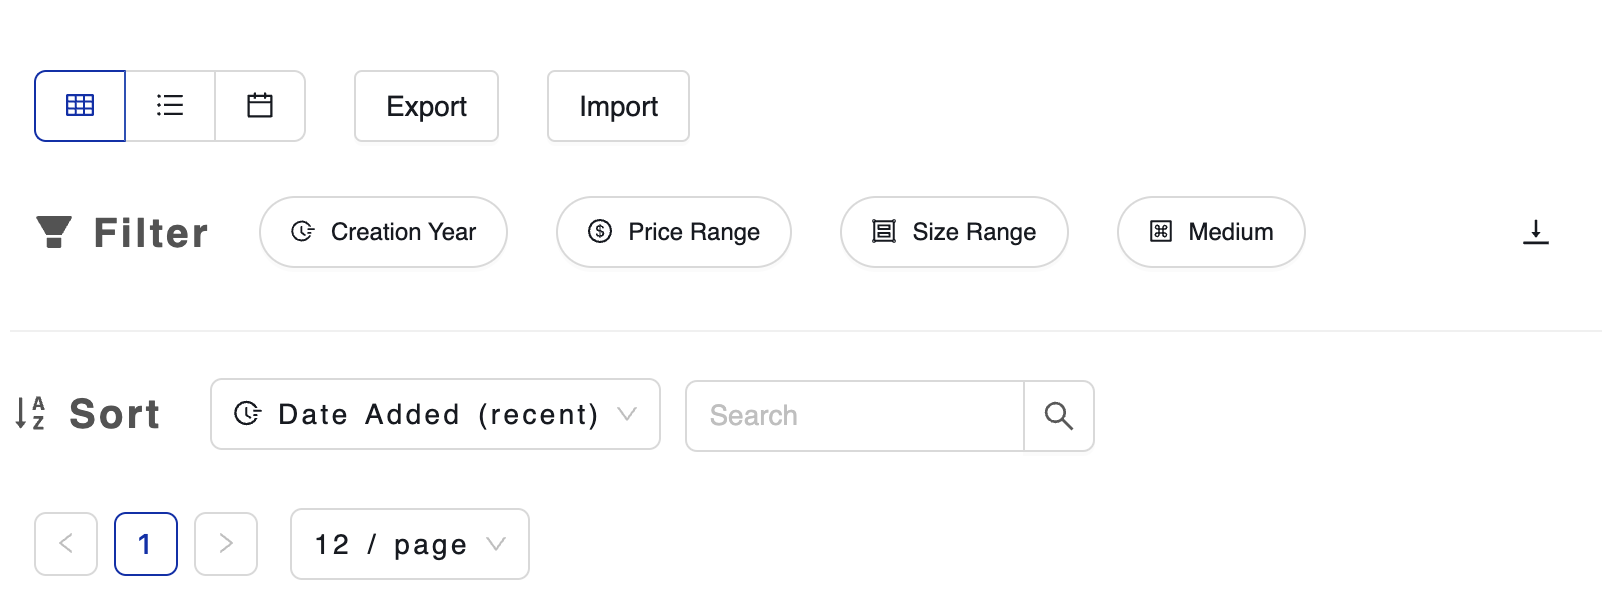
1.Creation Year
Click “Creation Year” to filter within a range of years in which pieces were created. Input a minimum and maximum year and then click “OK”, and results will be of pieces made within that range.
2.Price Range
Click “Price Range”. You can filter using some of our suggested ranges or create your own. Once you provide a range you would like to filter within, click “OK” and results will be of pieces made within that range.
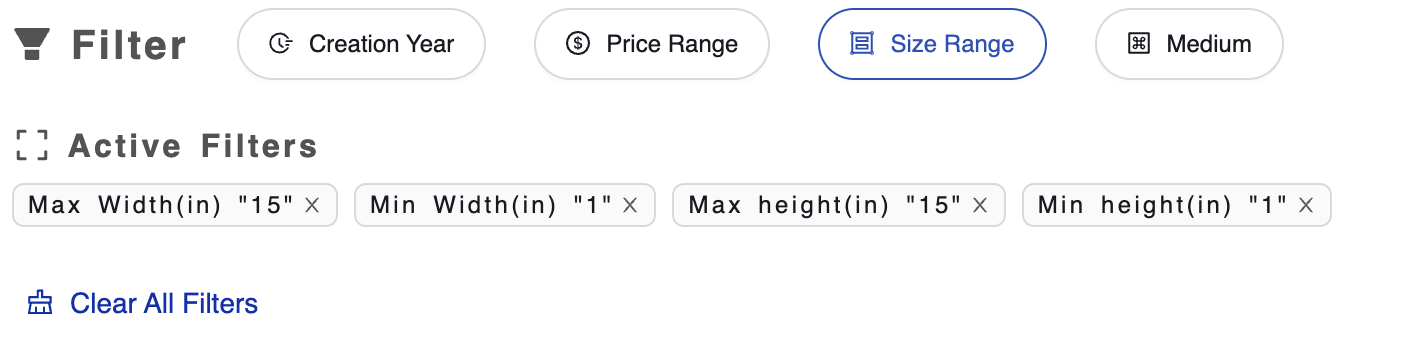
3.Size Range
Click “Size Range”. Select a range from the provided options and then click “OK” to see the results.
4.Medium
If you are searching for pieces produced with a certain medium, click “Medium” then select which medium you are searching for, then click “OK” to view results.
If you have multiple filters that you would like to get rid of, simply click the X next to the filter under “Active Filters”. You can also choose to “Clear All Filters”.
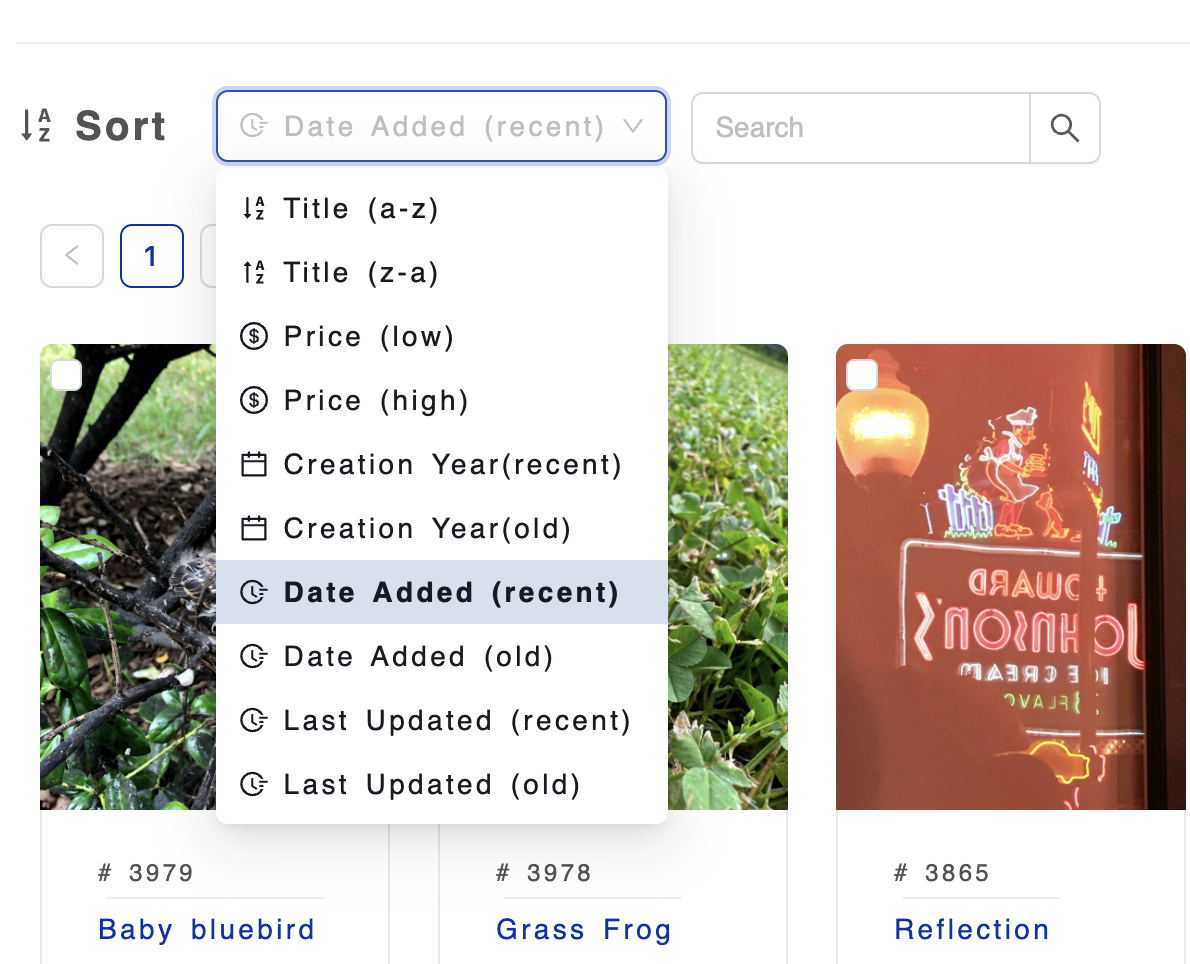
G.Sort Feature
This function allows you to organize and view your pieces according to a certain specification. Next to “Sort” click the drop down menu arrow and select how you would like to sort your pieces.
H. Change Dashboard View
In the top left corner of the dashboard, there are three icons that can change the dashboard view.
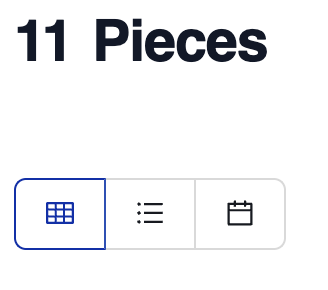
1.Grid View
The far left icon is the default grid view, which will display a card for each piece.
2.Column View
The middle icon will show a column view, which will display more information about each piece.

3.Calendar View
The far right icon will provide a calendar view.
I. Aspects Ratio
The aspect ratio feature is designed to help you customize your personal viewing experience of your artwork.
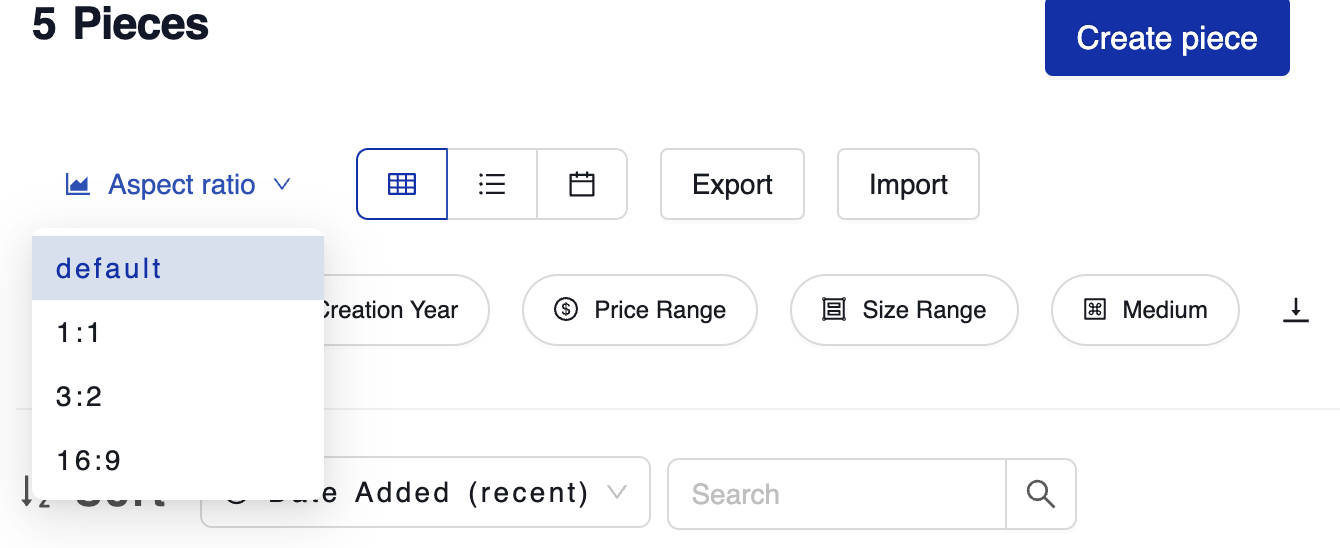
At the top of the Pieces dashboard, click “Aspect ratio.” This will drop down a menu that offers different scaling options to view your pieces. Click on which ratio you want, which will change the thumbnail perspective on the dashboard.
FAQ
Q: Why can’t I export all of my artwork pieces?
A: You need to update the page range before you export. https://www.loom.com/share/f08c2b670c624d12990e71443e6e5208?sid=a7dea28c-fec8-41d8-a51c-803c8d672bab